Are you grappling with failed or broken plastic edging around your pavers? Follow along with us here at Perfect Paver Co as we show you our process of replacing damaged edging and offer insights into why this maintenance is crucial for the stability of your outdoor space.
Why Plastic Paver Edging Fails:
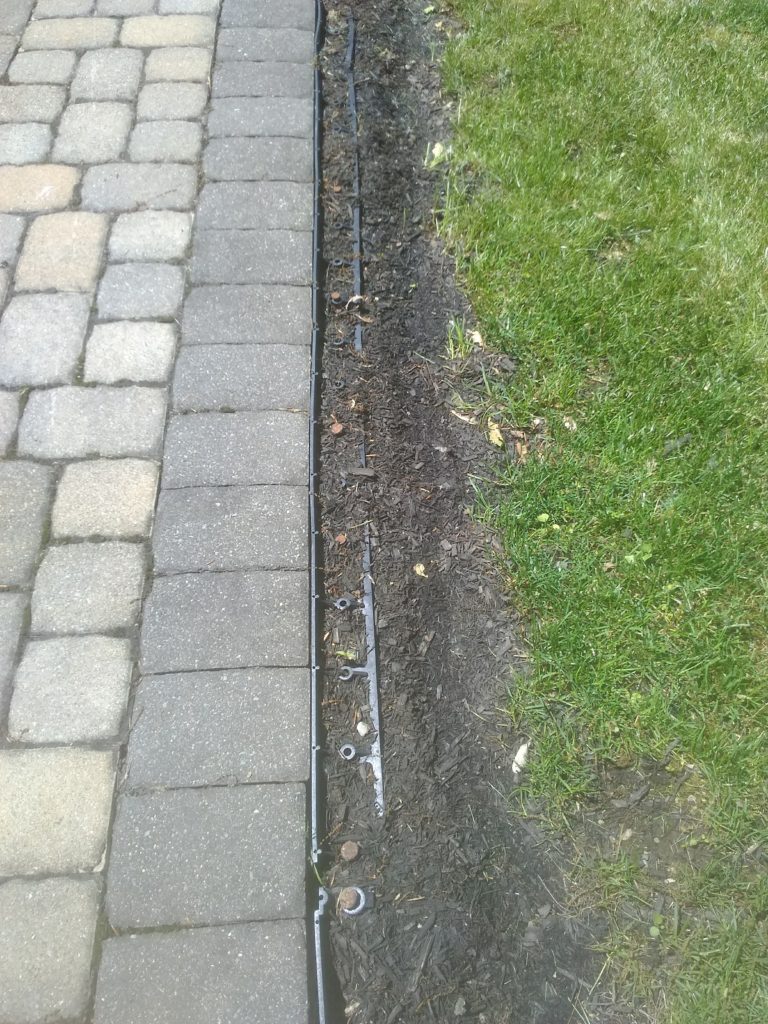
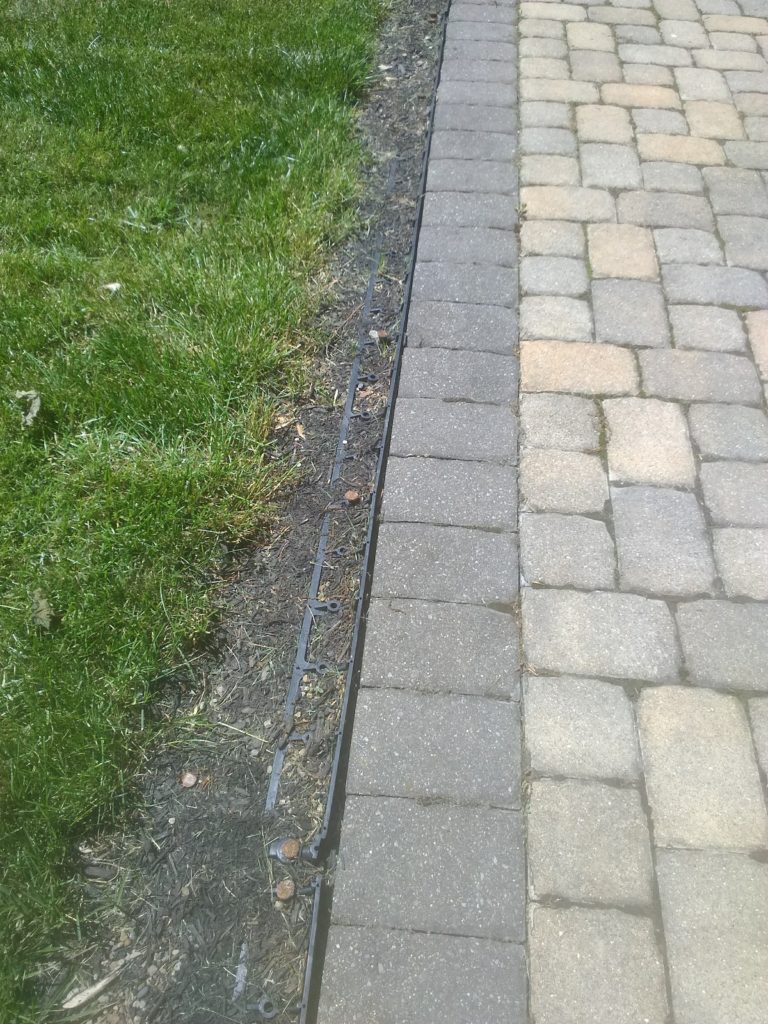
Plastic paver edging plays a crucial role in holding the setting bed beneath your pavers. When it fails, it can lead to the edging popping up above the pavers, causing the setting bed to wash out. This, in turn, can result in pavers shifting and spreading away from the intended pattern. (Photos 1 and 2 illustrate broken or popped-up edging, while Photo 3 showcases pavers shifting and spreading.)
Photo 1
Photo 2
Photo 3
How to Replace Paver Edging:
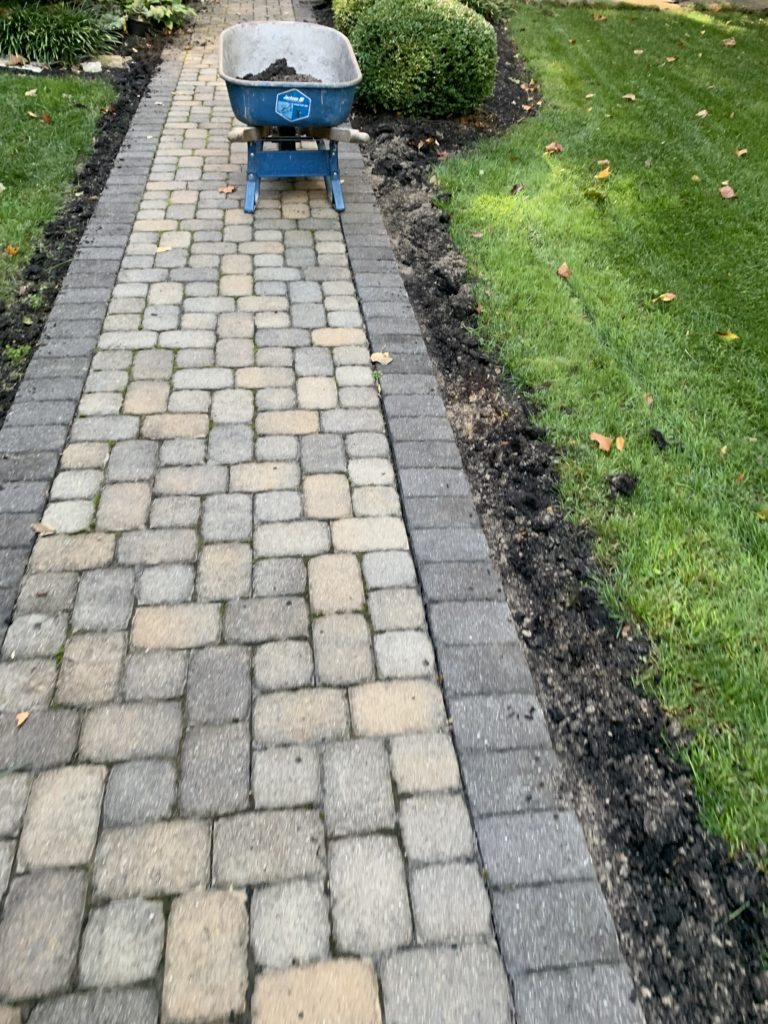
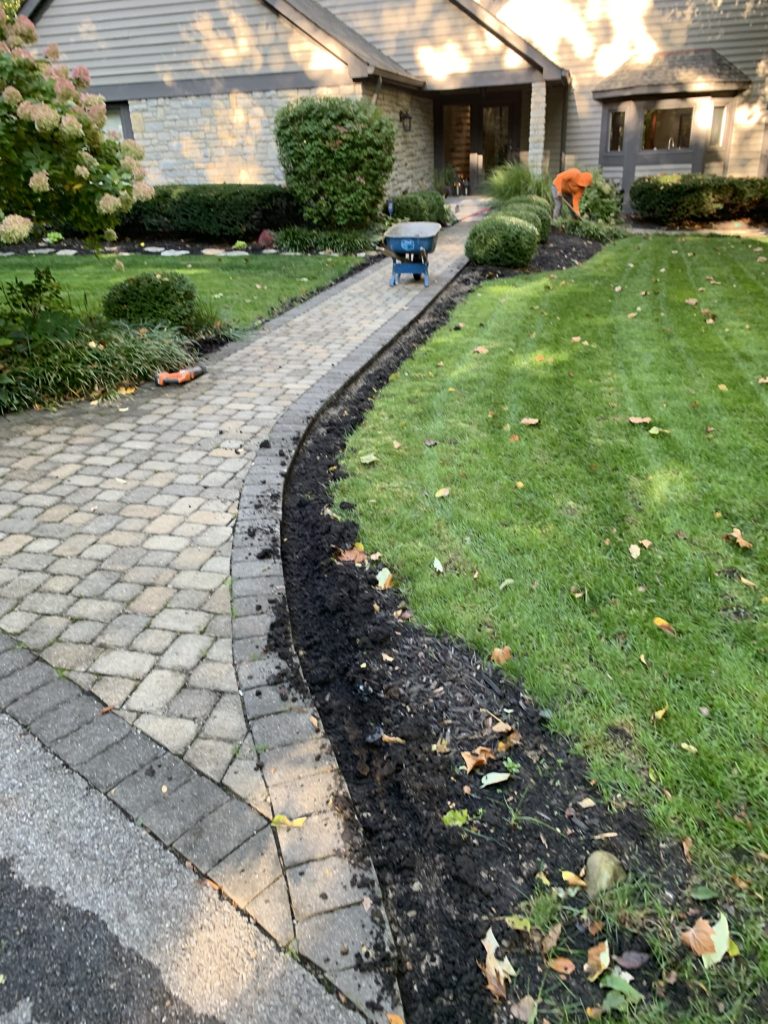
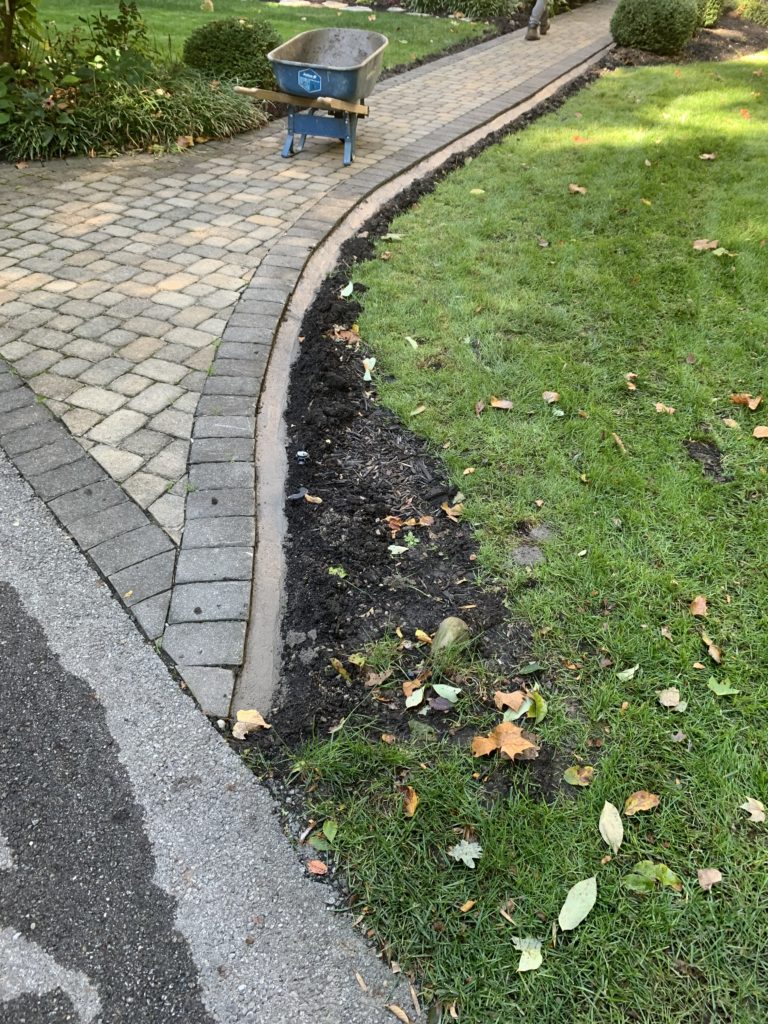
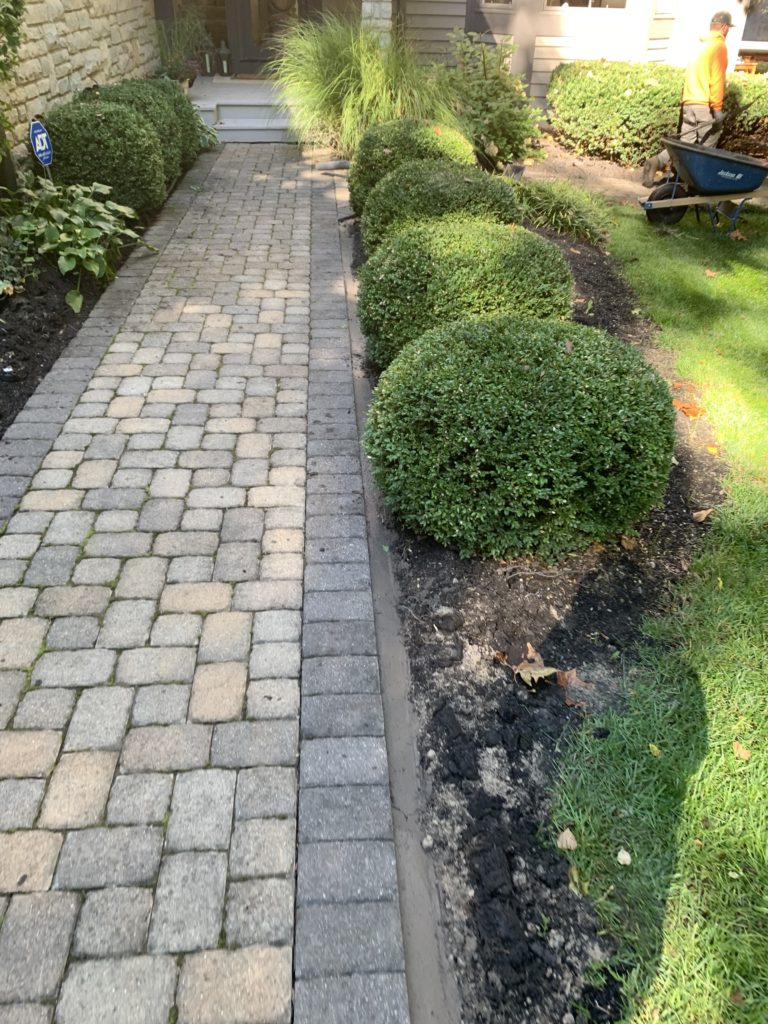
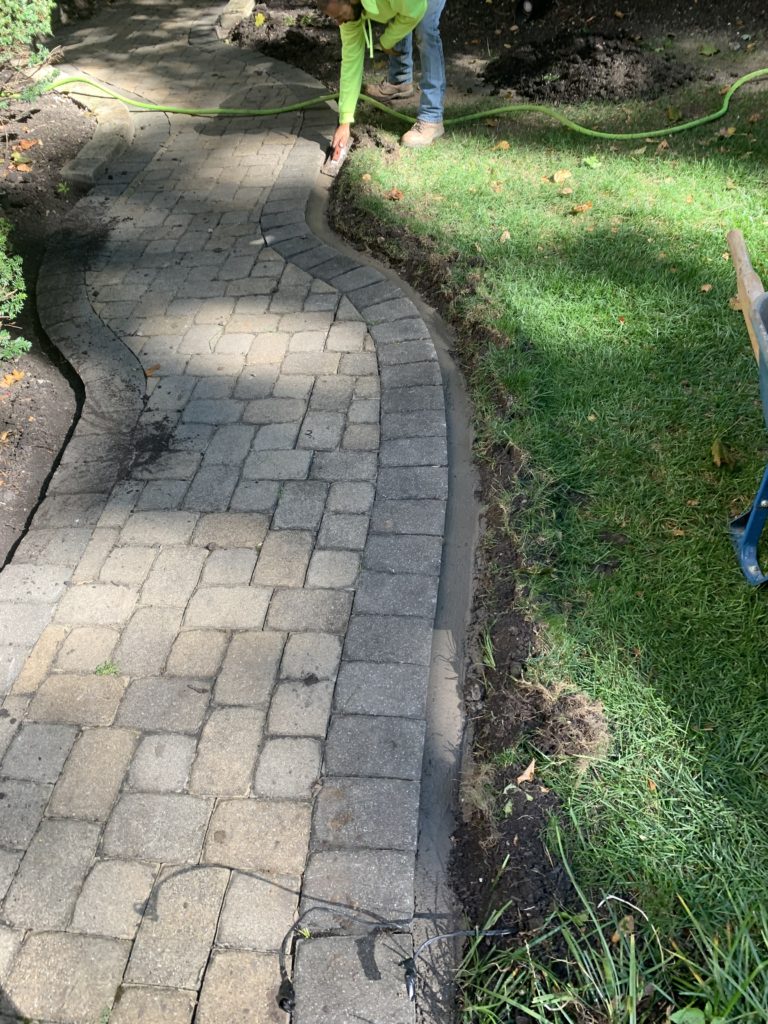
To address this issue, the first step involves excavating the dirt or mulch around the edging and completely removing the old, failed edging (Photo 4 provides a visual example). We then use our Perfect Paver Edge, a robust and flexible cement-based product, as the edge restraint system. Once installed, Perfect Paver Edge acts like a flexible rubber band around the pavers, effectively locking them in place (Photos 5, 6, and 7 demonstrate the installation process).
About Perfect Paver Edge:
What makes our edging superior is the inclusion of shards of fiberglass mixed with the cement, acting like little pieces of rebar. This prevents the edging from breaking apart, even if it does crack during freeze-thaw cycles. Additionally, a polymer (plastic) ingredient is added to our edging, providing flexibility during freeze-thaw cycles. This allows the cement to expand and contract with a reduced chance of cracking.
Photo 4
Photos 5,6,7
In cases where the edging failure has allowed the pavers to spread or shift, the repair process may also involve resetting the affected pavers. It’s crucial to assess the extent of movement and address any necessary adjustments during the paver edging repair for a comprehensive and lasting solution.
Finishing Touches:
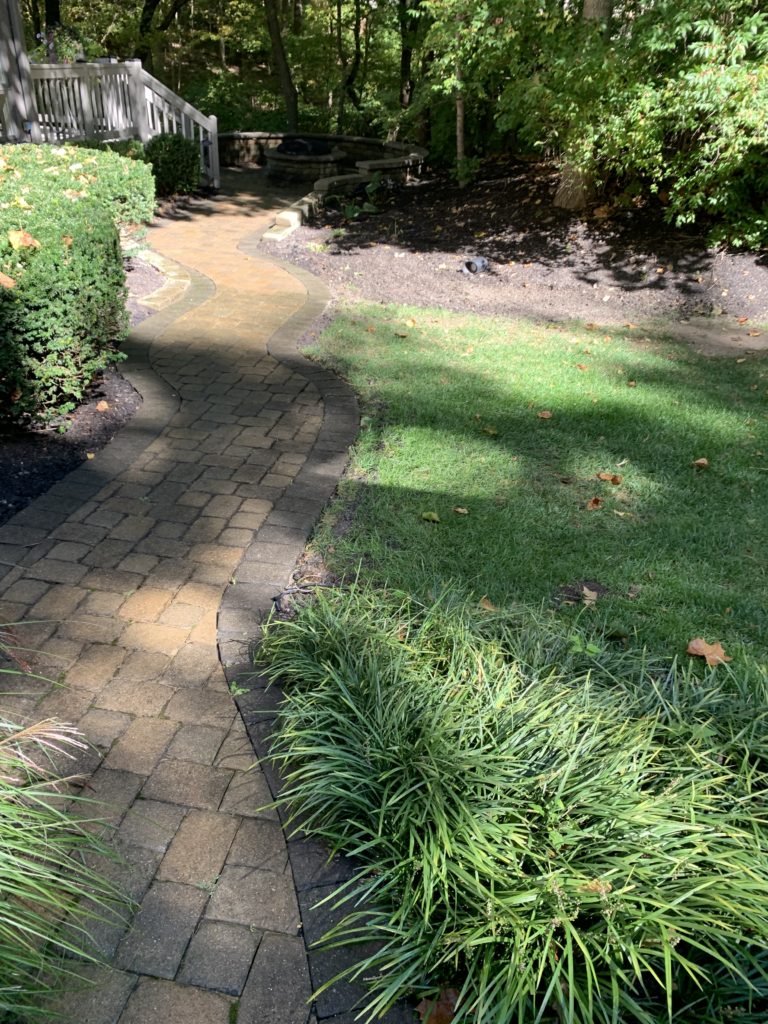
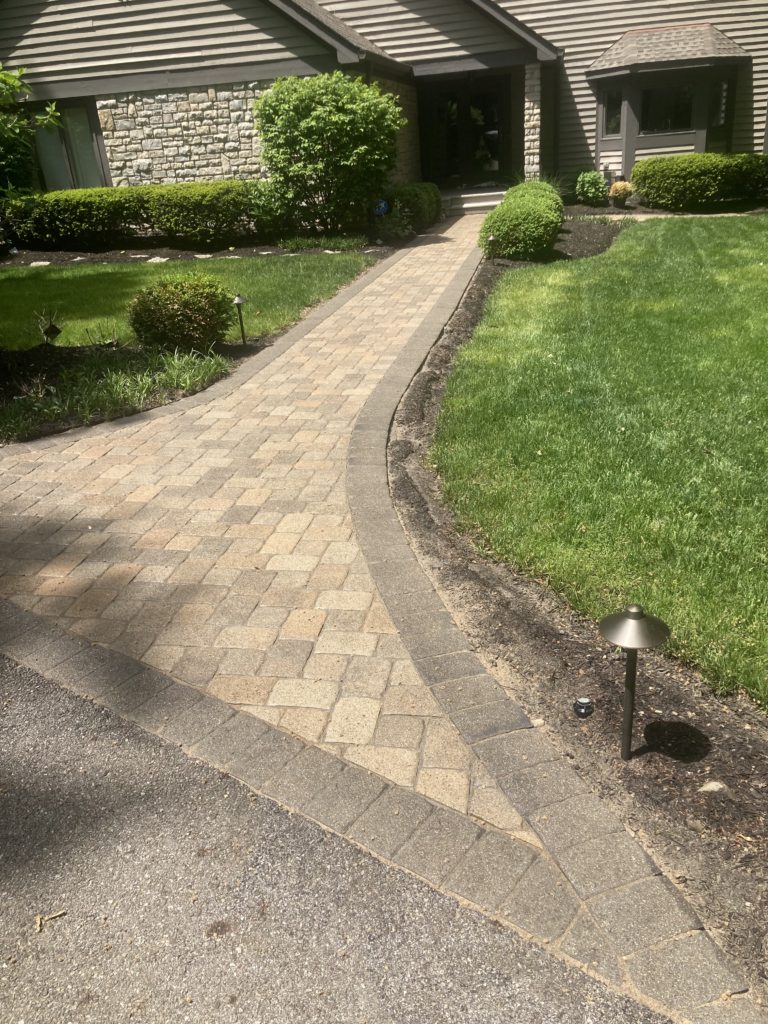
After Permaedge is in place, we replace the surrounding area with dirt, grass, or mulch, effectively concealing the edge restraint system from view (Photo 8 and 9 showcase the final result).
Photos 8 and 9
Ready to revive the stability and aesthetic appeal of your outdoor space in Columbus, Cincinnati or Dayton, OH? Let us come and replace your failed or broken plastic edging and keep your pavers secure and visually pleasing. Perfect Paver Co is here for all of your concrete paver solutions.
Our paver restoration process comes from 20+ years of experience, hard work, and dedication – and passion for restoring outdoor hardscapes. Have you ever wondered what that might entail? Check out our process for a recent project that needed some proper love and care to restore it back to being beautiful once again 🙌
Step #1: Paver Repairs and Edging Replacement
Step #2: Steam Cleaning Paver
Step #3: Install Polymeric Sand in Paver Joints
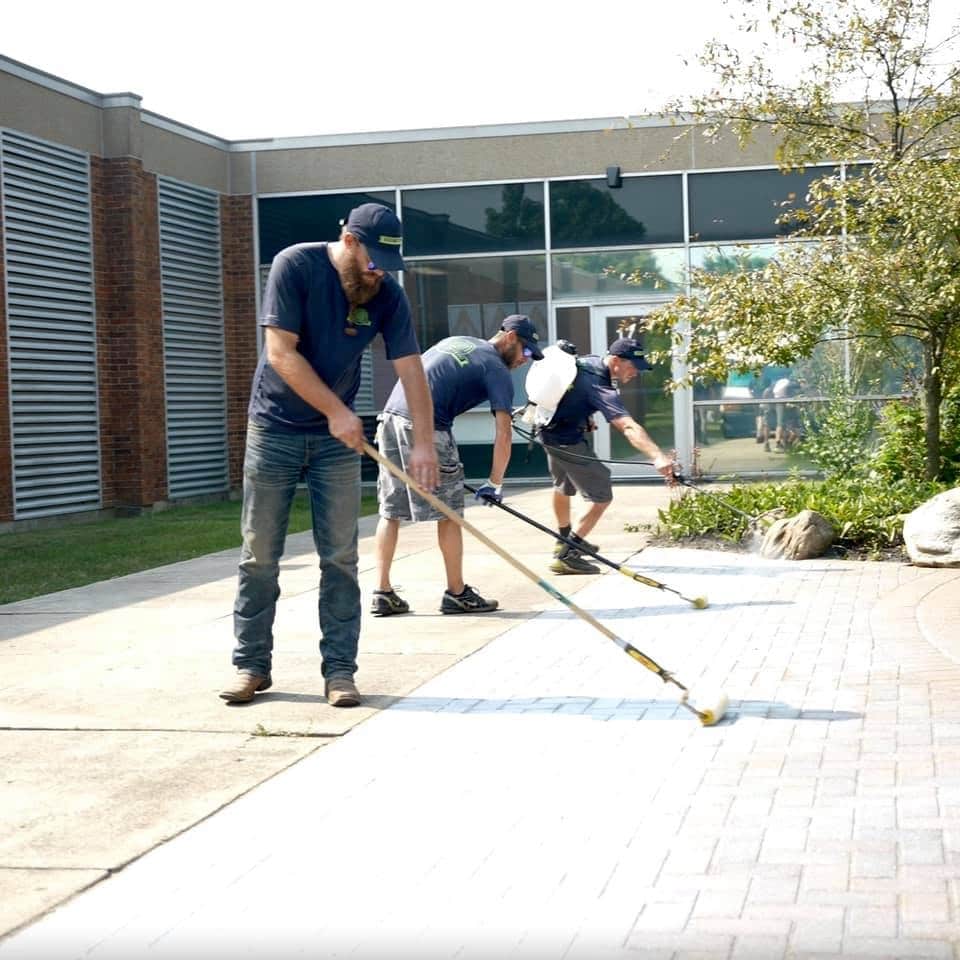
Step #4: Apply Color Enhancing Paver Sealer
Our process is designed to make your pavers look as good as possible. You’ll be happy to entertain and your family will spend more time outdoors – MAKING MEMORIES!
We service:
+Ohio (Dayton, Cincinnati, Columbus)
+Florida: (St Lucie County, Palm Beach County, Broward County, Miami-Dade County, Lee County, +Collier County, Charlotte County, Sarasota County)
+Atlanta, GA
If you have paver steps or walls that are falling down or lean over, there are some underlying issues that might be causing this. Scott shares the reason why this specific project has begun to fail, and how to fix the issue the right way!
Does your patio have loose or falling paver steps?
Are you worried about slipping or falling off of them?
Watch Scott show you why your paver steps might be like this, and what we can do to fix it. We see these type of repairs often and have an extended amount of knowledge of how to go about fixing it right, the first time.
Hi, I’m Mark with the Perfect Paver Company and I came out to Jupiter, Florida today to show
you the perfect example of why it’s so important to seal your pavers.
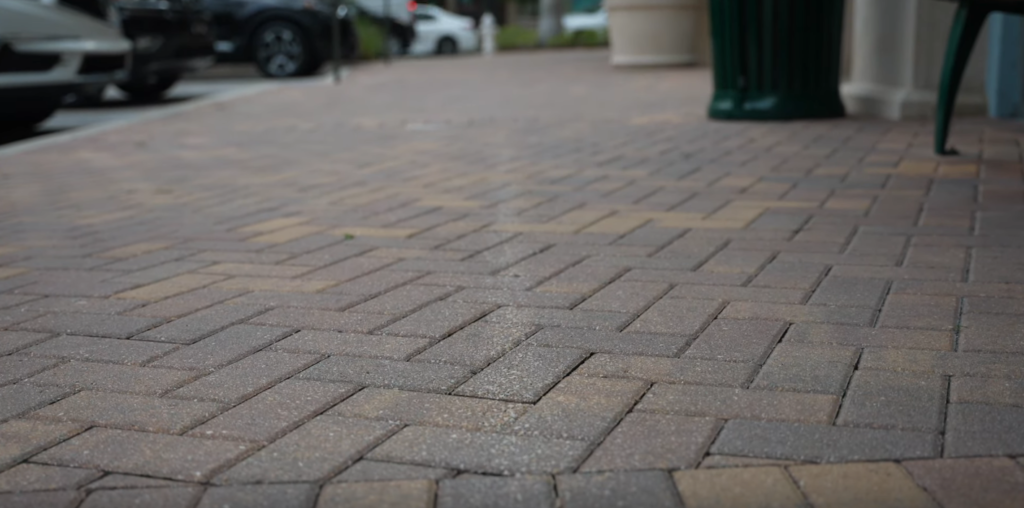
Today, we’re at an outdoor mall area and if you’re from the Jupiter area, you probably know exactly where I’m at. So what I want to show you is, throughout the outdoor area you have these overhangs and the overhangs prevent water from hitting the pavers underneath of them. Obviously outside of the overhangs, the water is able to directly hit the pavers.
So, what’s happening is because they don’t have gutters or downspouts, the water is actually coming off of the overhang and directly hitting the pavers, and it’s expediting and magnifying the impact that rain has on pavers and so protecting your pavers from rain is the number one important reason why you want to seal your pavers.
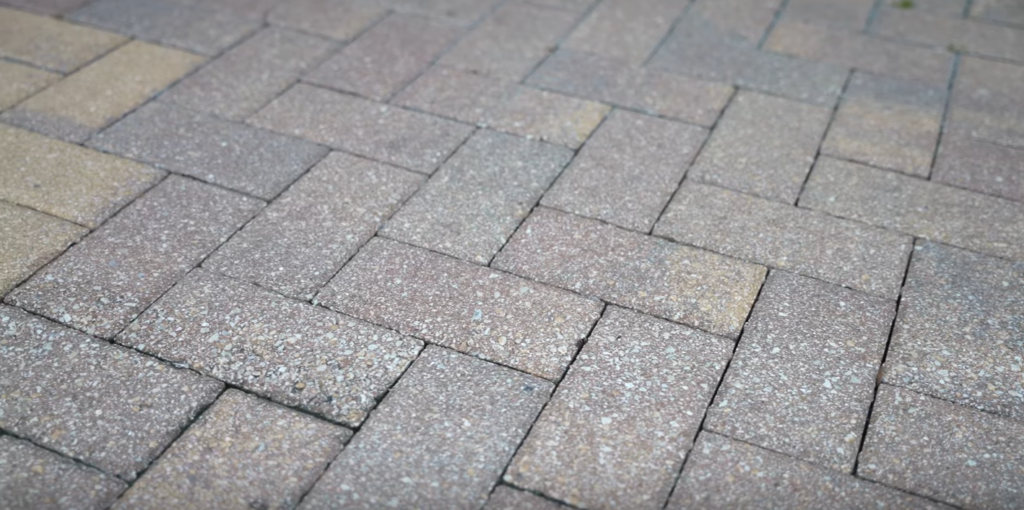
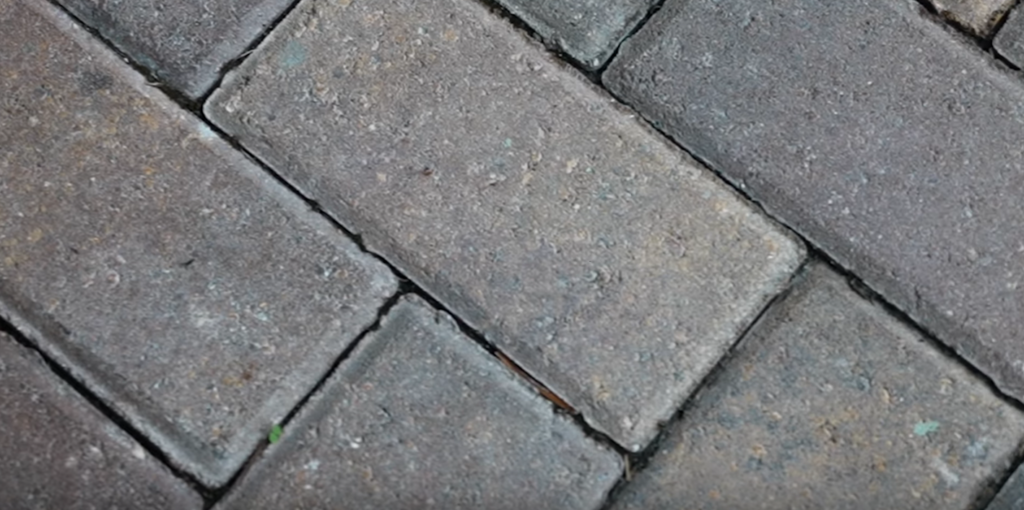
So, here’s something else; the pavers directly underneath the overhang are exposed to a lot of high volume water and it’s deteriorating the surface of the paver. You’re starting to see a lot of aggregate exposed, which isn’t good.
If you come up over here underneath of the bench area and overhang you don’t see any of the exposed aggregate, which is the white rock coming through. It’s still has all of its original surface intact.
So, the number one reason why you seal your pavers is to prevent rain deterioration, rain damage because it’s inevitable, it will happen on concrete pavers and so I’ll walk around and show you just some places where you can see how the rain is deteriorating the surface of concrete pavers.
So here’s a section where you have these overhangs and if you look directly beneath them where the water hits the paver, it’s a clean line where that water is coming off and it’s deteriorating the surface.
Pavers on my left, not exposing rain, they look beautiful. Pavers on my right, rain makes them look terrible.
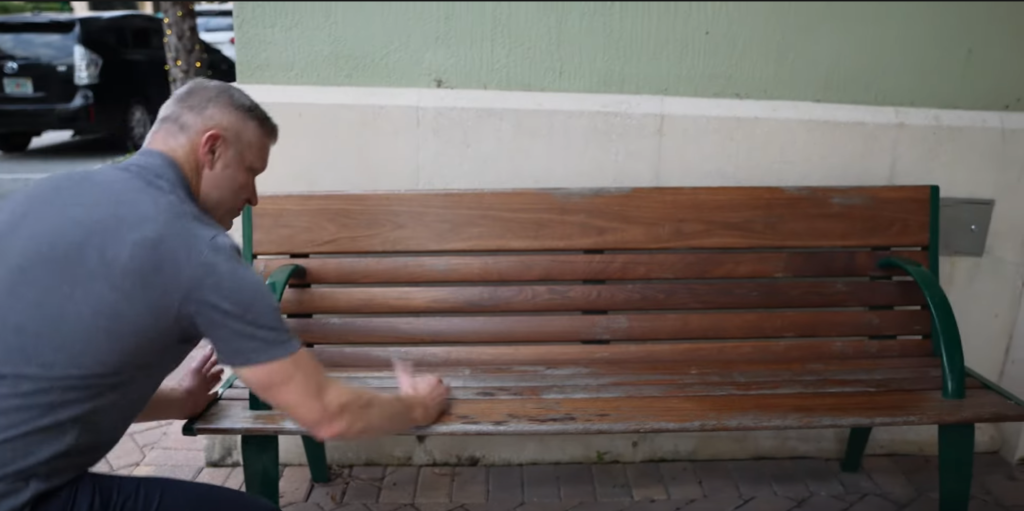
Hey come closer, something else I noticed is it’s not just pavers that are affected by rain. Look at this bench exposed to rain – destroyed. It looks much better protected from the rain,
Obviously, the sun plays a huge role as well. You want to protect the Pavers from the sun. The UV rays really go after the color and attacks those, starts drying those out, dulling those out.
Most importantly, if you coat your pavers and protect them from the rain, they will last significantly longer and look significantly better for longer. Mark with Perfect Paver Company, that’s why you should seal your pavers.
Hi, Mark, with the Perfect Paver Company here to answer another frequently asked question. Today’s question is, “Will sealing my pavers, make them look brand new again?”
So, unfortunately in most cases, the answer is no, unless of course your pavers are brand new. So what I want to try to do today is educate you on what you can expect from sealing your pavers. And I want to start by giving you a little education on how a paver is made and what happens as it weathers and how that affects the appearance that you get when you seal your pavers.
So, the first thing I want to do is explain to you how a paver is made. So when they make a concrete paver, it’s a mixture of aggregates, medium-sized small size, sand, and Portland cement. The Portland cement is the powder. That’s the gray stuff that you see mixed in around all of the rocks. The Portland, cement, and the sand mixed together is where the color lives. So when they made this paver, they mixed all of those ingredients, the sand, the small rocks, and the Portland cement together. Then they mixed it with a color additive; the color additive lives in that Portland cement.
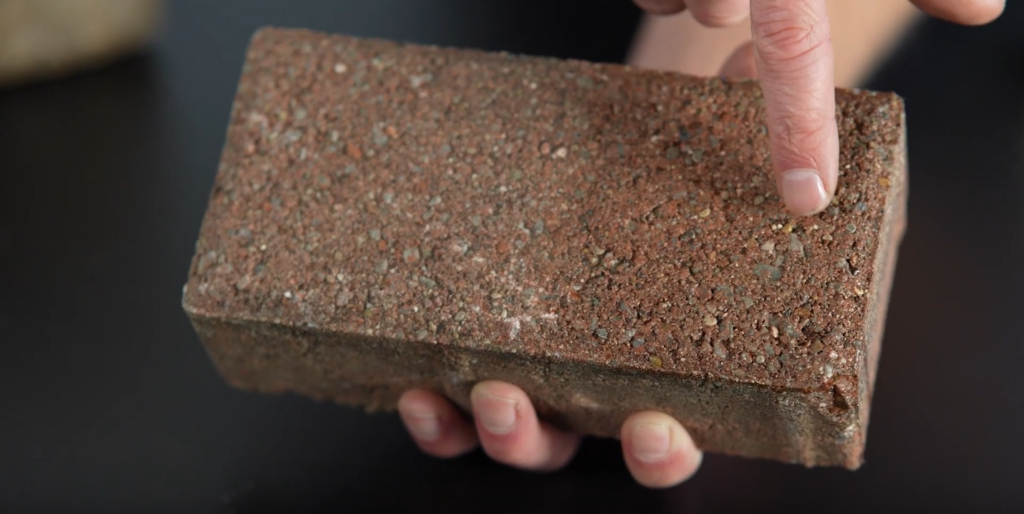
So if you look at the top of a weathered paver, you’ll see that you start to see some of those rocks, the Portland cement has weathered away. And as I mentioned before, all of the color lives in the Portland cement, you can now see the natural color of the rocks. So the more your paver weathers, the more rocks are exposed and the less color containing product is still left in the paver.
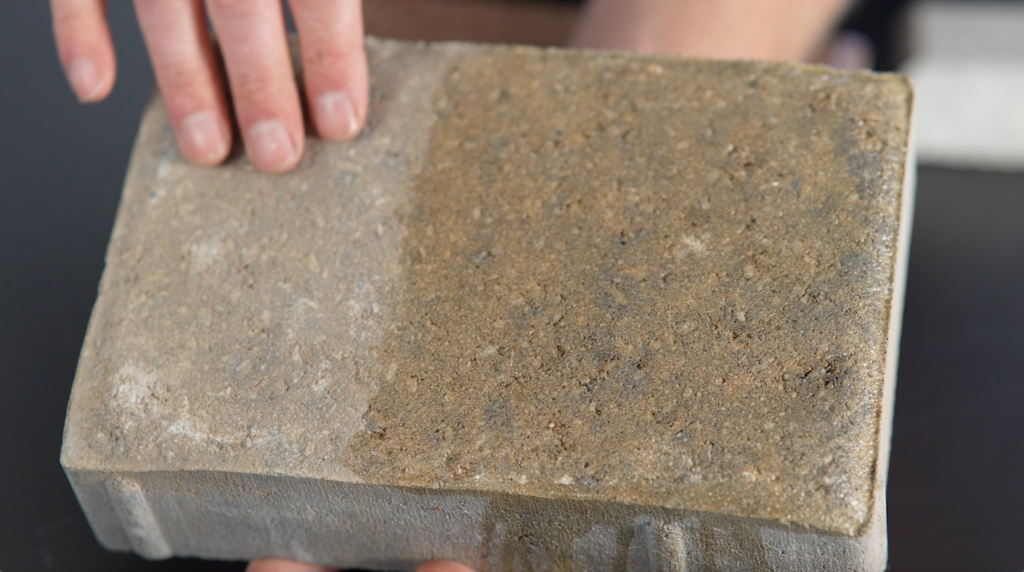
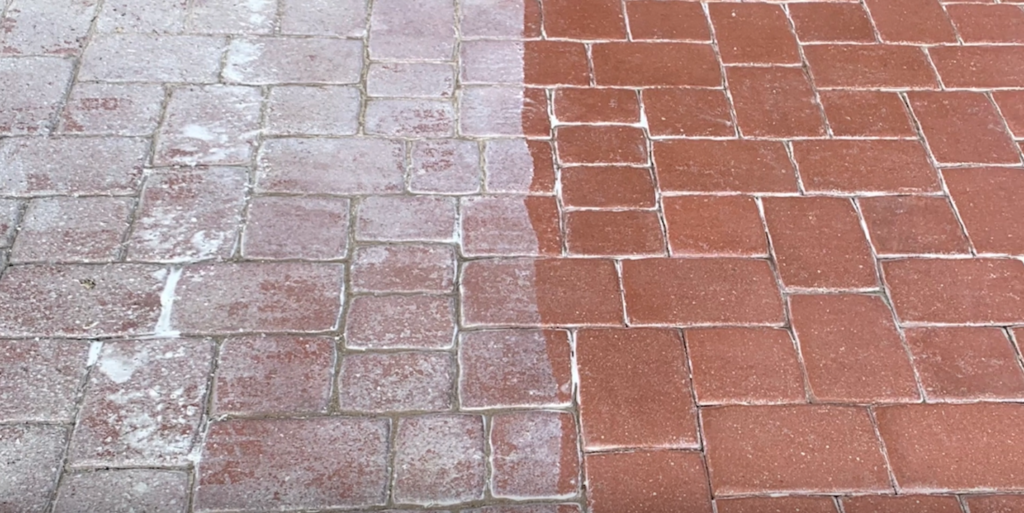
So here, I’ve got this paver that’s been sealed on this side, not sealed on this side, and you can see there’s definitely some color enhancement, but it doesn’t look as good as it could look because of the aggregate being exposed in the paver.
The way that a paver weathers is actually by rain. So as rain continues to hit the surface of the paver, it will start to deteriorate the finer material or the Portland cement from the surface of the paver and start to expose those little aggregate pieces. You can actually see this, if you look at your pavers that are maybe under the overhang or under a roof at your front door and compare those to the pavers that are further out in your yard or your driveway.
You’ll notice that you’ll see more exposed aggregate to the pavers that are exposed to rain versus the pavers that aren’t.
So if you look at a newer paver, you will see that you don’t see any of the exposed aggregate. You’ll notice the before, it’s more of a muted out a look, and then it’s enhanced pretty significantly by being sealed because there’s more of the pigment, more of the Portland cement that contains the pigment left in the surface of the paver. Therefore, you’re going to get more enhancement when we seal it.
So side by side, they both been sealed. And as you can, you’re getting more enhancement from the new paver than you would from the older paver, primarily because of the pigment.
So I talked about how the age and how a paver is weathered plays a role and the results that you get from sealing your pavers. The other thing that I want to talk about is the actual color of your paver. So there are a few different color ranges or color options when you get pavers. You can have more vibrant colors like reds, oranges, greens, blues, and you can have more earth-tone color pavers, like tans, grays, and those types of colors.
Typically, when a manufacturer makes a paver in an earth tone color, they’re trying to make it look like nature. So the color isn’t going to be as enhanced, it’s not going to be as vibrant, it’s going to be a little muted out and feel more natural and organic. When you go with reds, oranges, blues, and greens, it’s intention is to be vibrant.
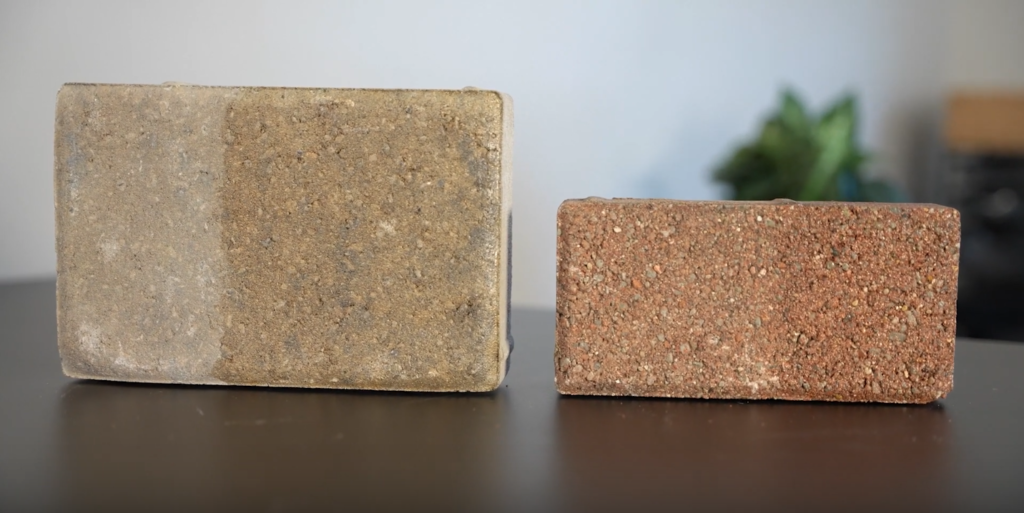
So when you seal a paver that has that vibrant style color, like a red, green, blue, orange, you’re going to get a lot more enhancement, but still needing to factor in the age of the paper because you can see a difference. This is a red paver here on the right and a natural tone paver on the left. You’re getting more enhancement here on the left, but this is a brand new paver. This red one is probably a 20 year old paver.
So color plays a big role as well. Reds, blues, green, oranges; they’re going to get more color enhancement, while earth-tone colors like tans and grays; you’re going to have less color enhancement from those. But that should be expected because you’re hoping for those colors to continue to be more earth tone, natural, organic looking.
The third factor in determining how well your papers are going to react to being sealed is how well they’ve been maintained throughout their life.
If it’s an older paver, but it’s always been regularly sealed, then it’s more likely to have less exposed aggregate because the sealer, if it’s kept on a paver will help prevent that deterioration from happening.
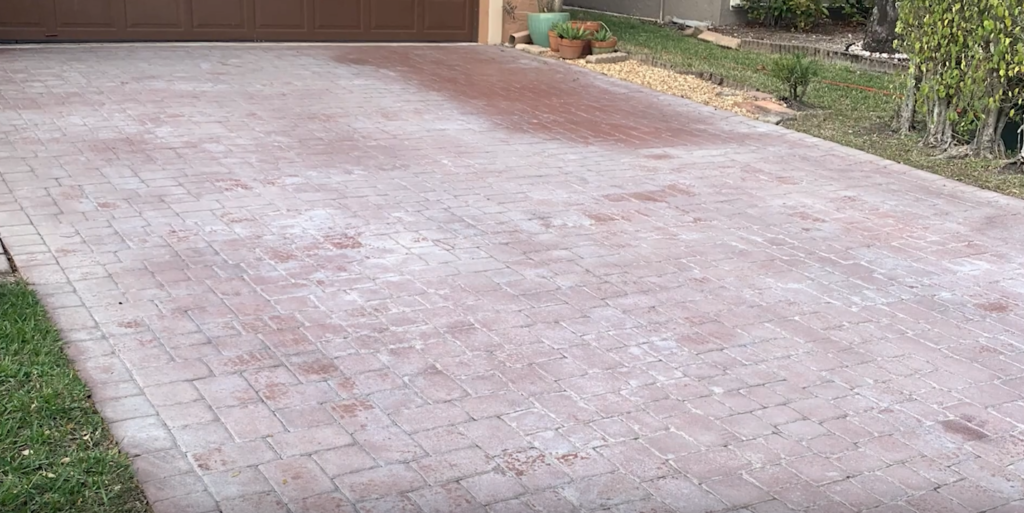
Sometimes we get the most difference between the before and after on pavers that have been previously sealed and most importantly pavers that have been previously sealed incorrectly. So when a paver has been sealed incorrectly, the sealer will eventually turn a milky white and hide all of the color like the picture below.
It will appear as if all of the color in the paver has faded away. However, when we come in and strip all of that sealer away, then you get to see what you actually have left in terms of color and that paver and then we reseal it and all of that color comes back to life.
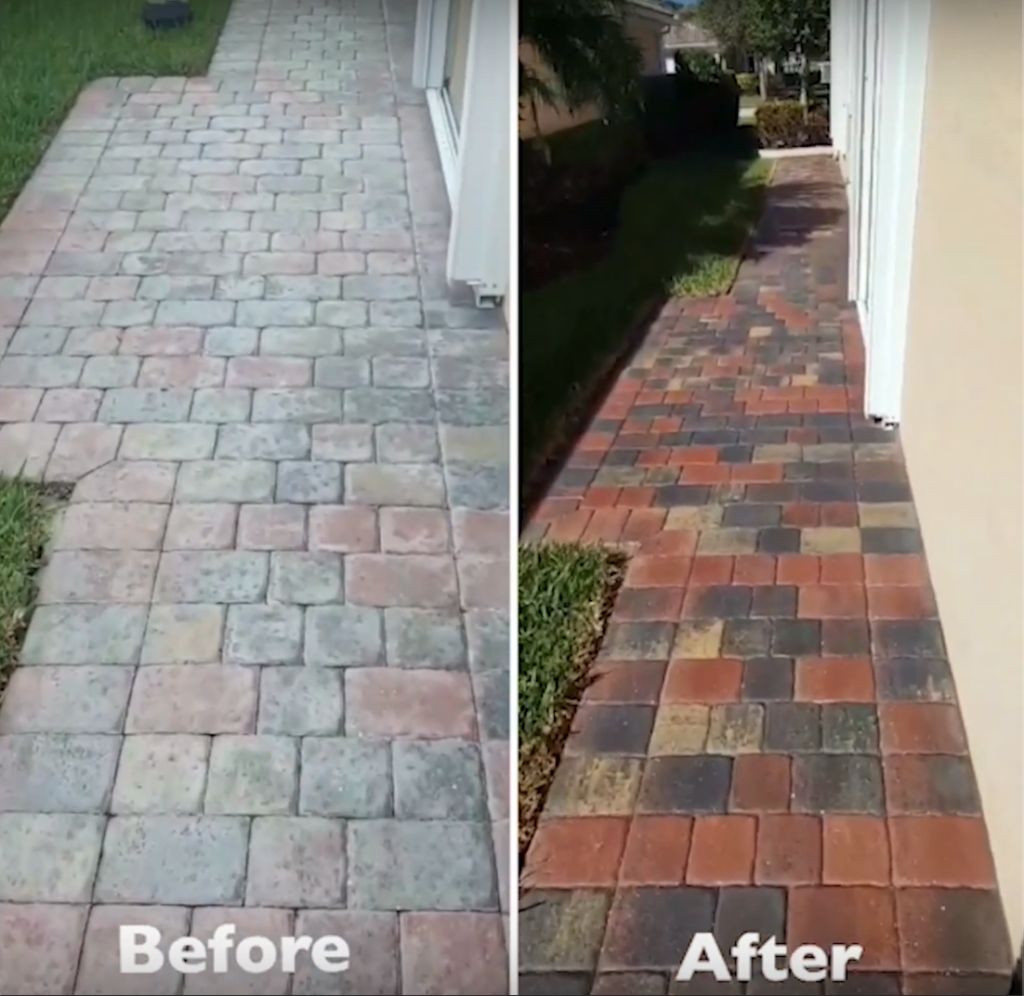
So when you’re looking at a before and after of a job that was sealed previously incorrectly, and it had been sealed a lot, or it’s a newer paver, like the example below, and then it’s been stripped and resealed correctly, it looks very dramatic in the before and after, but we didn’t do anything to that paver other than strip it and reseal it correctly.
So, that’s why you’re seeing the most dramatic difference in those pictures because of the fact that the sealer had turned white and failed, and once that’s removed and sealed correctly, you get a lot of pop or a of enhancement if the paver that we stripped does, in fact look good under the sealer or it’s been well maintained.
So that hopefully gives you a quick rundown on what you can expect by sealing your pavers. Please comment below with any questions that you might like me to answer in my next frequently asked question video.
Thanks, Mark from Perfect Paver Company!
Hi, I’m mark with the Perfect Paver Company, back with this week’s frequently asked question. Why should you seal your travertine pavers?
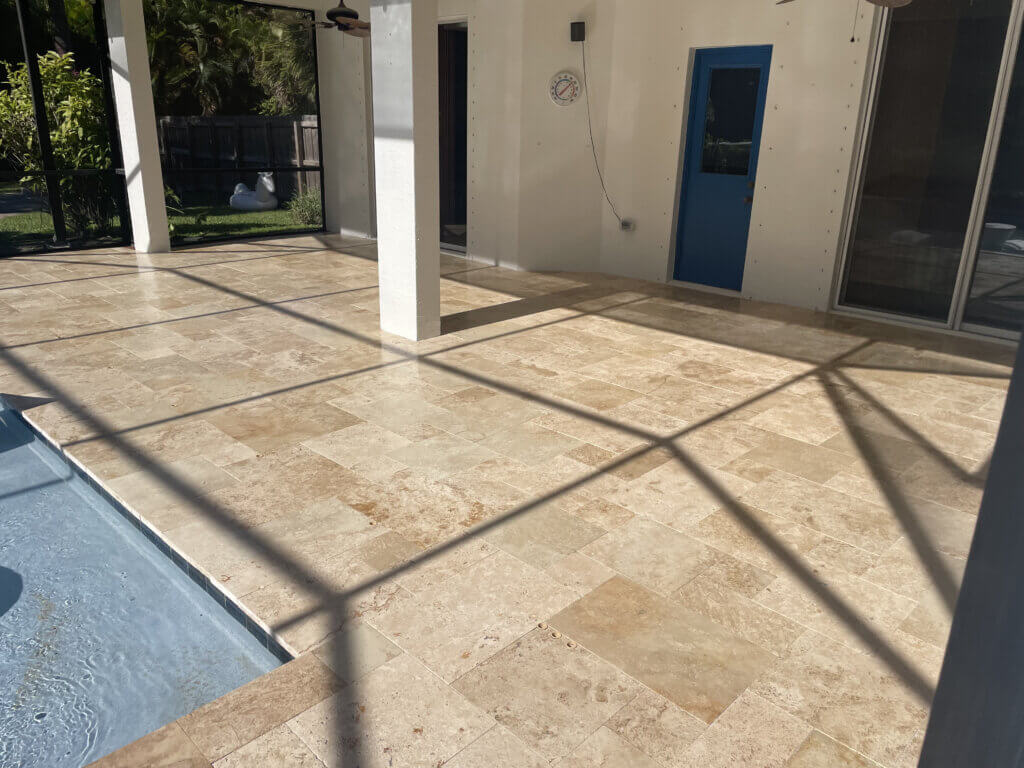
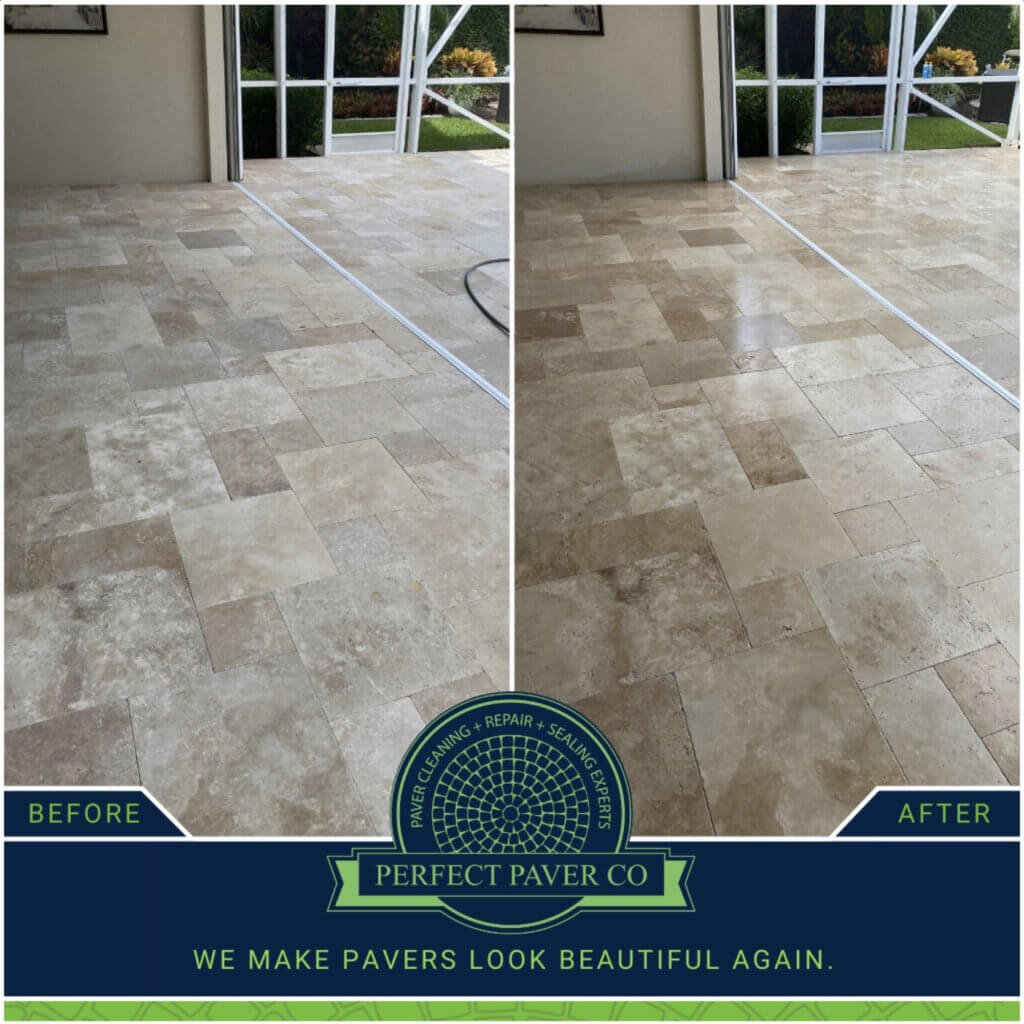
Trust me you’re not alone if you have travertine pavers, you had them installed, they were beautiful and just a few months after, you see mold, dirt, and maybe even vegetation growing up everywhere. It’s so frustrating because you made the investment in your travertine pavers because it was supposed to look better and now it’s actually making your pool deck or your outdoor space not look as good. So the question all the time that we get is, “why should I seal my travertine pavers?” and that’s a great question.
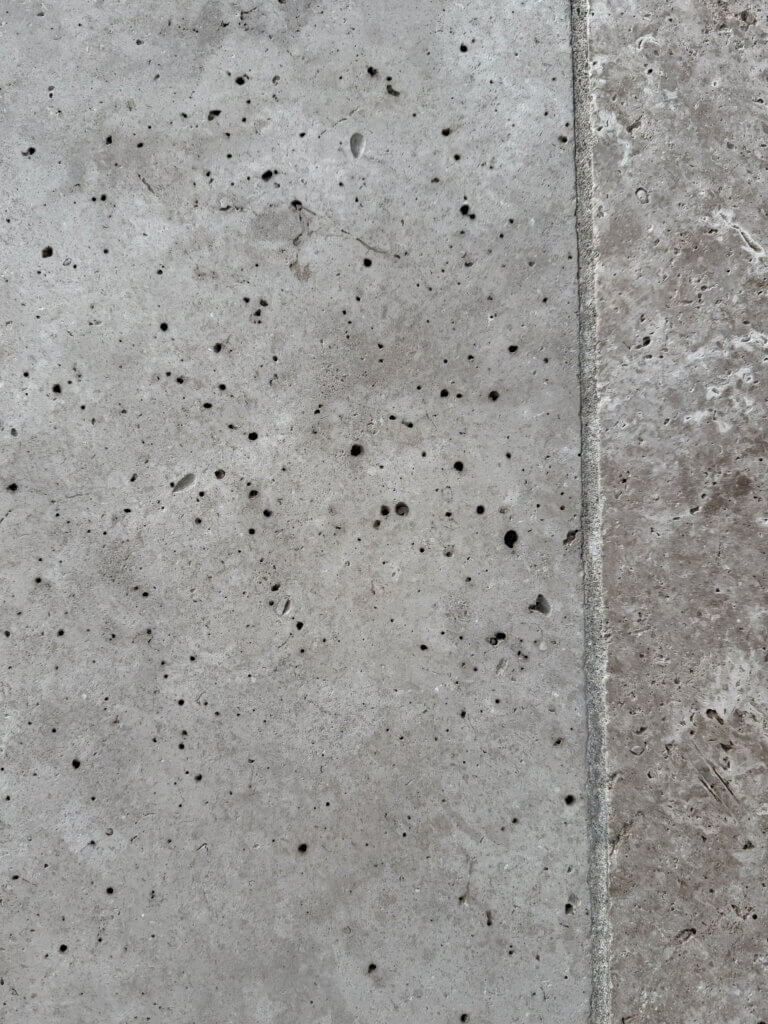
There’s a couple of reasons, the first reason that we suggest you seal your travertine pavers is because travertine is extremely porous. There are a lot of holes, capillaries pores, and those types of things in the travertine and those holes can fill up with moisture and water and stay damp, creating the perfect conditions for things like mold and algae to not only grow and germinate, but thrive and it kind of takes over. You have this beautiful pool deck made of travertine and the next thing you know, you have all this black mold and it’s just dingy and dull.
So, by sealing travertine with the proper sealer, a nice penetrating version of sealer, it’s going to minimize water’s ability to soak into that stone and therefore the stone is going to stay dry under the sealer and it’s gonna make it harder for things like mold, algae, and mildew and those types of things to grow.
Now, just sealing it by itself won’t completely eliminate the problem, but the other cool thing that it’s going to do is it’s gonna make it easier for you to also keep it clean, get that organic material off the surface of the stone. By getting that organic material off, those microscopic spores of mold and algae that’s trying to germinate won’t have any food to be able to derive.
So, the other reason why we suggest sealing your travertine pavers, especially in a Florida climate, is if you’re around a pool deck that’s a salt water pool. If you’re near the water, there’s a lot of salt in the air and travertine is actually a form of limestone. Limestone is very sensitive to salt.
So we utilize a sealer that acts as a salt barrier that prevents salts ability to deteriorate the stone or deteriorate that limestone. It will actually eat it if it’s left unprotected, so seal your travertine because it makes it easier to maintain it, it can make it look better depending on which style of sealer that you go with, and it’ll help protect it against deterioration from salt.
Hope that answers all your questions about why you should seal travertine pavers and if you would, leave me a comment below and let me know what you’d like me to answer in next week’s frequently asked question.
Thanks again, Mark with Perfect Paver Company. Hope you have a great day.
Hi, I’m Mark with The Perfect Paver Company, here to answer this week’s question of the week, why do some pavers turn white after being sealed?
So there are two types of sealers. There are breathable sealers and there are non-breathable sealers.
Breathable sealers allow ground moisture to perculate up through the paver and back down through the paver without trapping that process from happening. Non-breathable sealers do the opposite.
So, when you have a non-breathable sealer, you’re essentially trapping ground moisture underneath the sealer and you can develop things like hydrostatic pressure which basically builds up a pressure strong enough to start to lift the coating from the paver and then that space inbetween the paver and the coating fills up with moisture and you basically see condensation and that gives off that white appearance. So, it’s really important to seal your pavers with a breathable sealer.
So, the other reason why pavers can turn white after being sealed is not related to the sealer as much as it’s related to what’s called efflorescence. So, in pavers, there are natural salts. Primarily pavers made from concrete, there are natural salts. We refer to them as efflorescence. When ground moisture or when rain goes down into the paver, those natural salts in the paver stick to that moisture and then when it evaporates back up through the paver, it takes the efflorescence with it and it leaves it on the surface as the moisture evaporates away.
When you have sealers that are not breathable, it can trap that efflorescence in underneath of the sealer. Now, it’s still likely that if you’re experiencing efflorescence, you’re still going to see that regardless of whether or not you have a breathable or non-breathable sealer, but you’re going to see less of it when you have a breathable sealer.
In addition to that, when your pavers are installed over top of a concrete base, there’s nowhere for that water to go when the water drains down through the paver, and hits the concrete base. It kind of get stuck there. So, what happens is the natural salt stick to the moisture in the concrete base as well and it pulls that salt up through the paver and leaves a deposit on the surface.
So, if you have poor drainage, if you have pavers installed on concrete base and you’re seeing white on your pavers in those areas, it’s likely efflorescence and it’s being magnified by drainage issues.
So, I hope that answered your question as to why pavers can turn white when they’ve been sealed and by the way, if you have a question that you would like answered in a future question of the week, please comment below and I would be happy to do so. Thanks again and have a great day!
Hi, I’m Mark with the Perfect Paver Company here again with this week’s question of the week and this week, I’m gonna answer, what is polymer and why do your pavers need it?
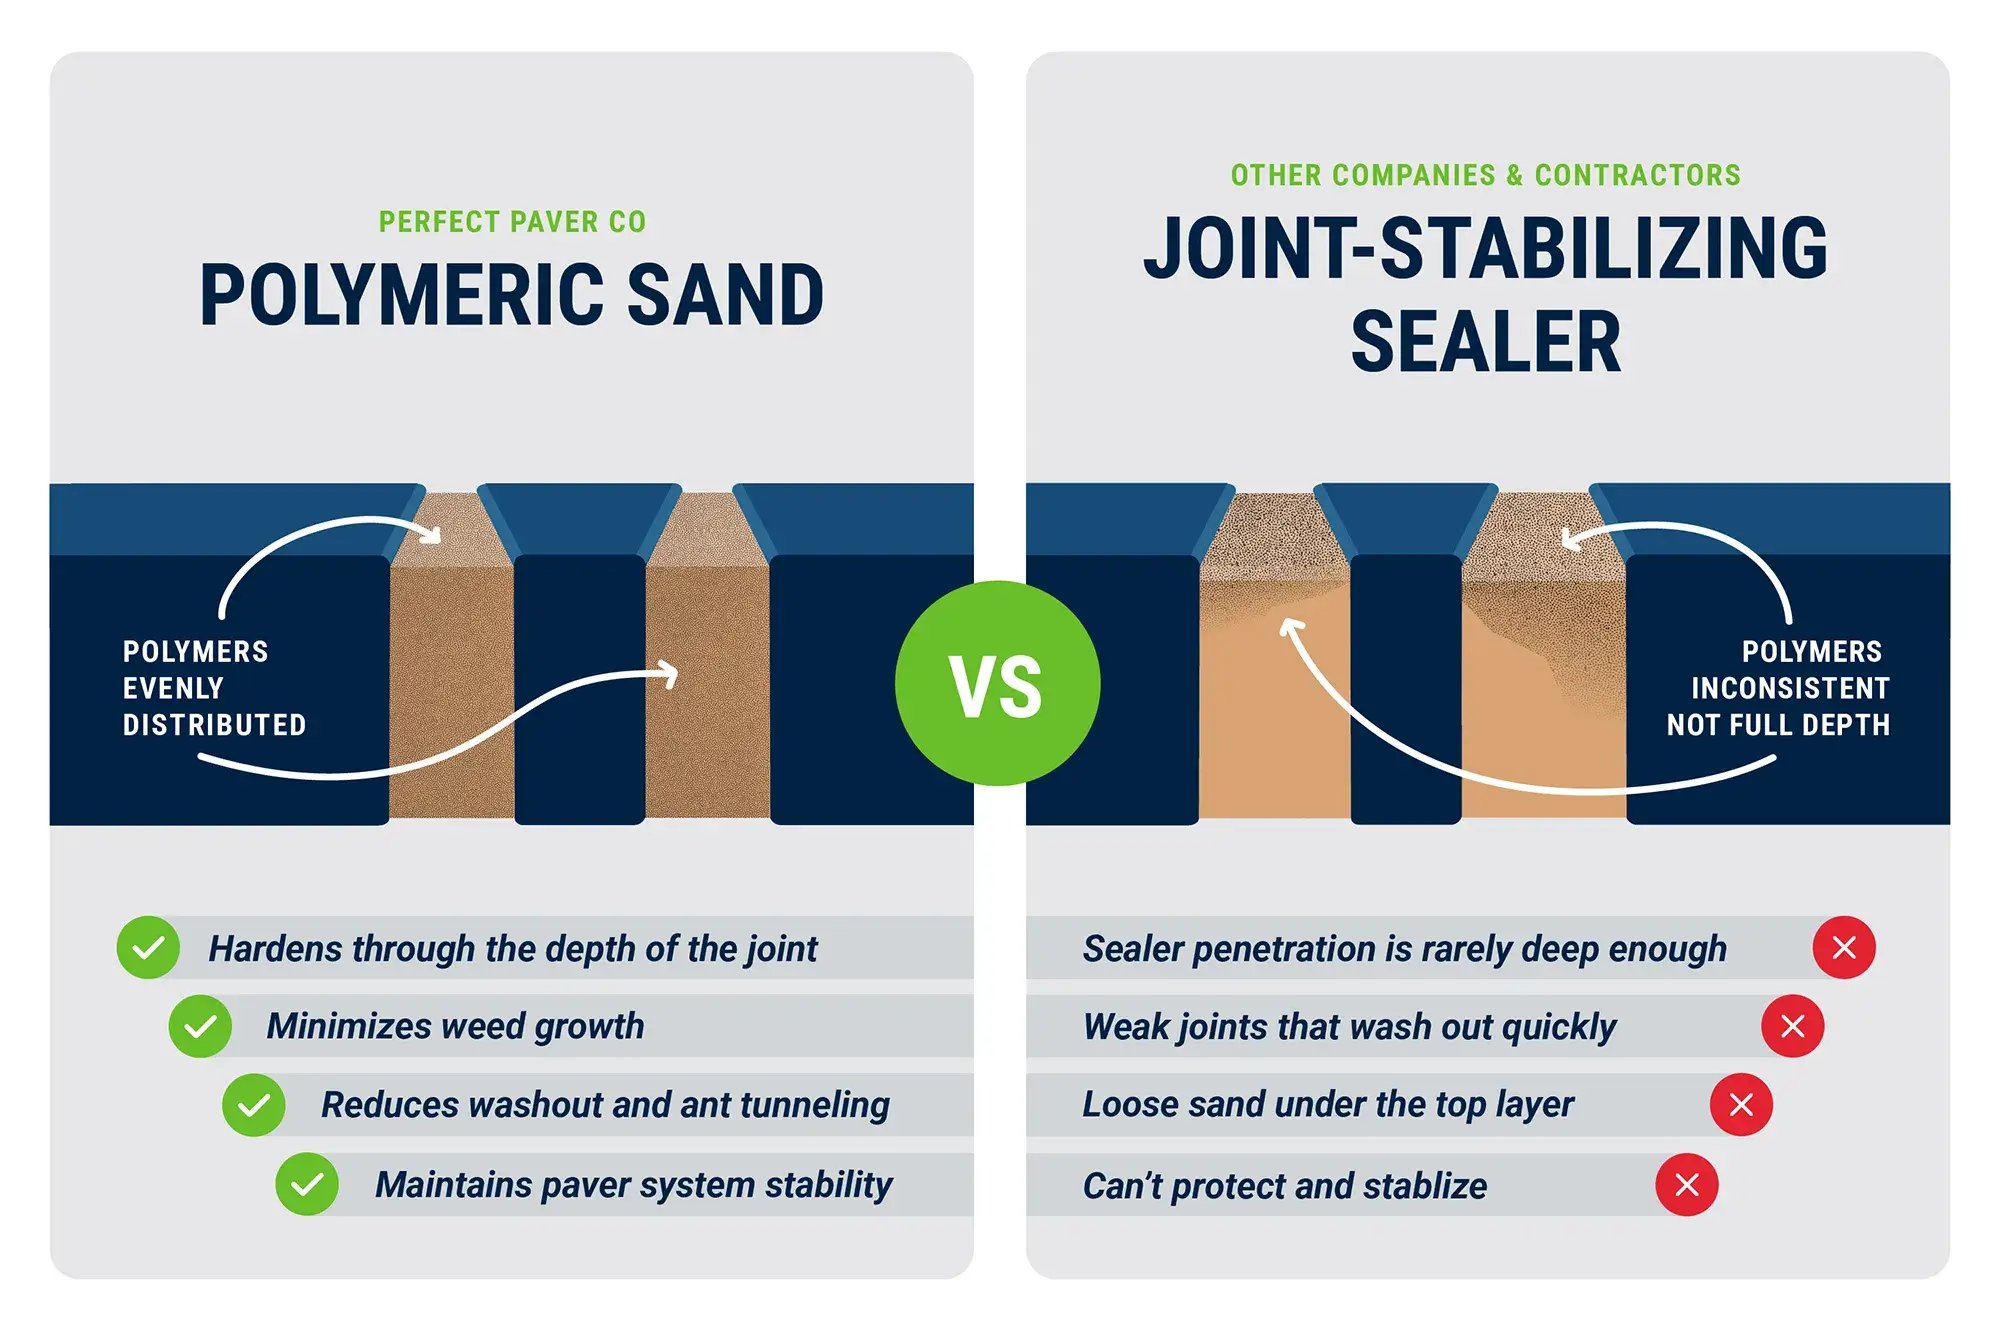
So in between interlocking pavers is a joint and during installation that joint gets installed with sand. A product that came out on the market, and in about the last five to seven years is called polymeric sand. What that is, is a mixture of natural sand and polymers or plastic. They mix those together in the manufacturing process and when it’s installed in the joint and you activate it with water, it activates the polymers, the polymers bind to the sand and when it dries it cures into a hard grout like material.
So the purpose of installing the polymeric sand in the joint is to help keep the pavers locked together, but it also helps keep the joint filled with the material that stays locked in the place. Before polymeric sand, you would install just natural loose sand in the joint and over time as rain and frequent cleanings would happen, that loose sand would get washed out, causing a void and that void would fill up with organic material, dirt, and other unwanted things.
So polymeric sand goes in the joint during installation or during restoration when you’re cleaning the pavers up. It locks itself into place and makes it so that it can’t fill up with organic material like dirt and debris, and one of the benefits of it is because your pavers are now easier to maintain because the joints filled with locked sand, it’s more difficult for things like weeds and vegetation to grow on the joint because it doesn’t have that organic material in the joints. So that’s polymeric sand in a nutshell. I hope that answers your question and by the way if you guys would comment below with the question that you might have about pavers, I’ll be happy to answer that in an upcoming segment of frequently asked questions. Thanks and have a great day!